Step#
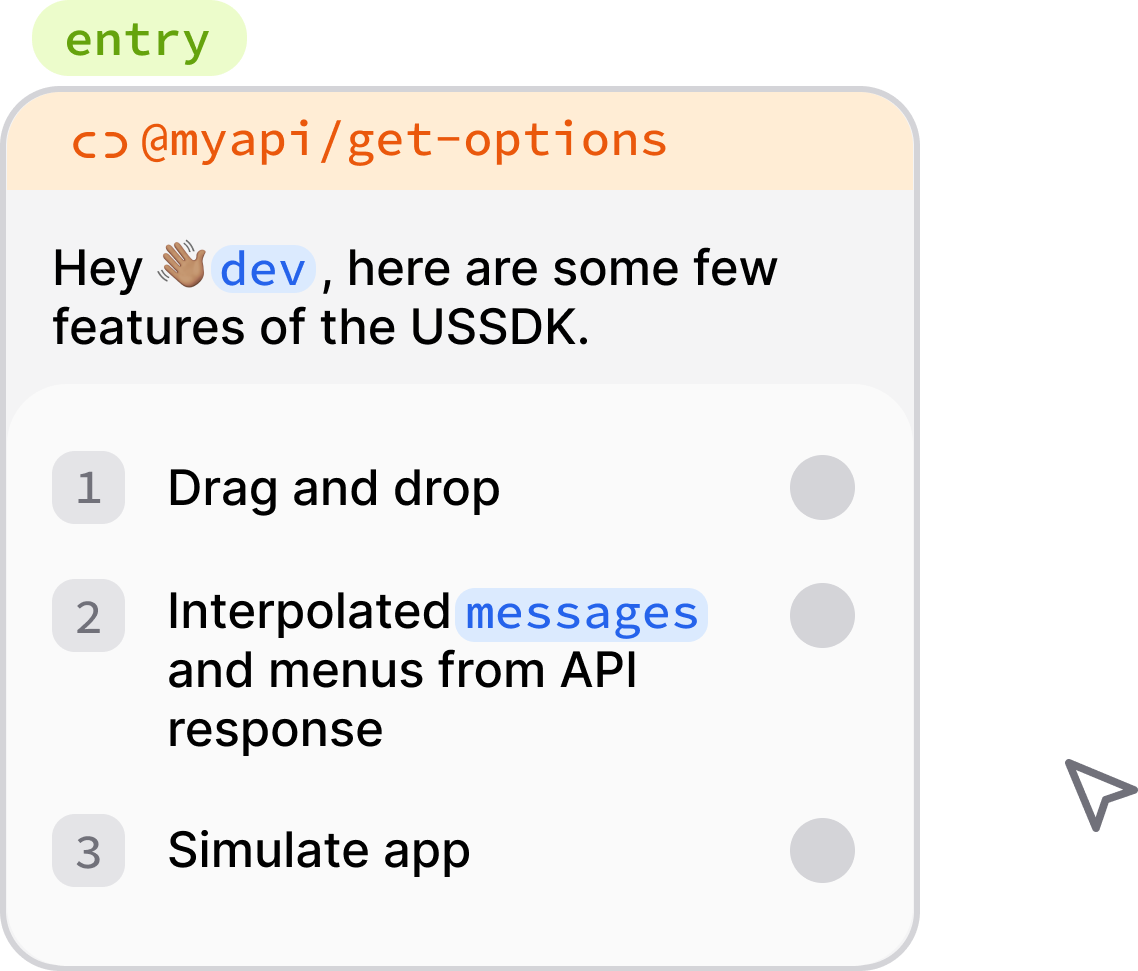
A step is the basic component of a USSD application in USSDK. Steps are connected to each other to create a user journey. When you start a new project, you’re faced with an @entry step. To create a step, simply drag from a socket and drop unto an empty space. Editing/configuring a step is done in the panel on the right under the Step tab.
In this part of the documentation, we’re going to describe the anatomy of a step.

Anatomy of a step#
Message#
This is the message you want to show to the user. It can be interpolated using handlebars. For example you can enter the following message:
Welcome, {{user_name}}! What would you like to do today?Exciting yet? It’s as simple as that.
What happens to {{handlebars}} (in this case {{user_name}})? They get populated with values from your hook. We will soon learn about hooks.
If you want to interpolate values from a previous step, you can use this handlebar format: {{key:remit_amount}} where remit_amount is the key of the previous screen. See keys to learn more.
Pagination#
Normally, you would have to worry about pagination if your message exceeds character limit of 160 (or less depending on the USSD provider). With USSDK you don’t! Our engine automatically paginates the message for you. We include a Back and/or More actions (menu items) to each page of the screen.
Menu#
Populate the list of options here. You can also use handlebars for menu item messages. And yes, the values get populated from your hook. You can also alias the keys of menu items. That way, the alias are saved as the value for the step (see keys) and sent as the value of the step to your hook.
For example, you can have a menu item like 1) Withdraw money. Here the key is 1. You can alias this key as withdraw_money. This way, when your hook is called, USSDK uses withdraw_money instead of 1. This improves the readability of your hook code and also allows your implementation to not rely on the key of the menu item which could change at any time.
Note
You need to provide at least a message or menu for each step. You’ll find a warning in the Info tab when you’ve forgotten to provide at least either.
You may not be able to deploy an app that has not addressed pending problems
Rendering lists#
Sometimes you may want to render lists (dynamic lists). Examples: a list of upcoming events, recent contacts, transaction history, etc. To do so,
- Add a menu list and provide a key/name of the list.
- Supply a hook that will return data including the list with given key/name above.
The hook should return this list in the following format. For instance, if the name of the list is upcoming_events, your hook should return a JSON response in the format:
{
  "user_name": "Jane Doe", // extra details used
  "upcoming_events": [
    {
      "key": "1",
      "message": "Hansel and Gretel (4/11)",
      "keyAlias": "hansel_gretel" // optional
    },
    {
      "key": "2",
      "message": "Greatest Showman (6/11)",
    }
  ]
}Hook#
A hook (short for hook url) is an endpoint that is called before a step is rendered. The hook should return a JSON encoded response. Any key name specified in handlebars (in messages or menu items) will be used to extract values from your response.
Hooks also allow you to control the flow of a session like validating input and requesting a retry, blocking access, navigating to different parts of the session, etc.
See /docs/hooks for more details on this topic.
Hook endpoints should accept a
POSTrequest.
Key#
Keys are used to save the input of a step during a session. When your hook endpoint is called, USSDK includes values of steps that have keys. For example you have two steps that ask for the user’s name and age. When the keys name and age are set for the two steps, USSDK makes a request to your hook in the format:
{
  ...,
  "props": {
    ...,
    "values": {"name": "James", "age": "65"}
  }
}
If you don’t set a key on a step, the value entered by the user is not saved.
Preview#
As you compose a step, a preview is rendered at the bottom of the step panel. This gives you an idea of how a prompt will look like. Saves you the time of having to run the app before verifying how it would look.